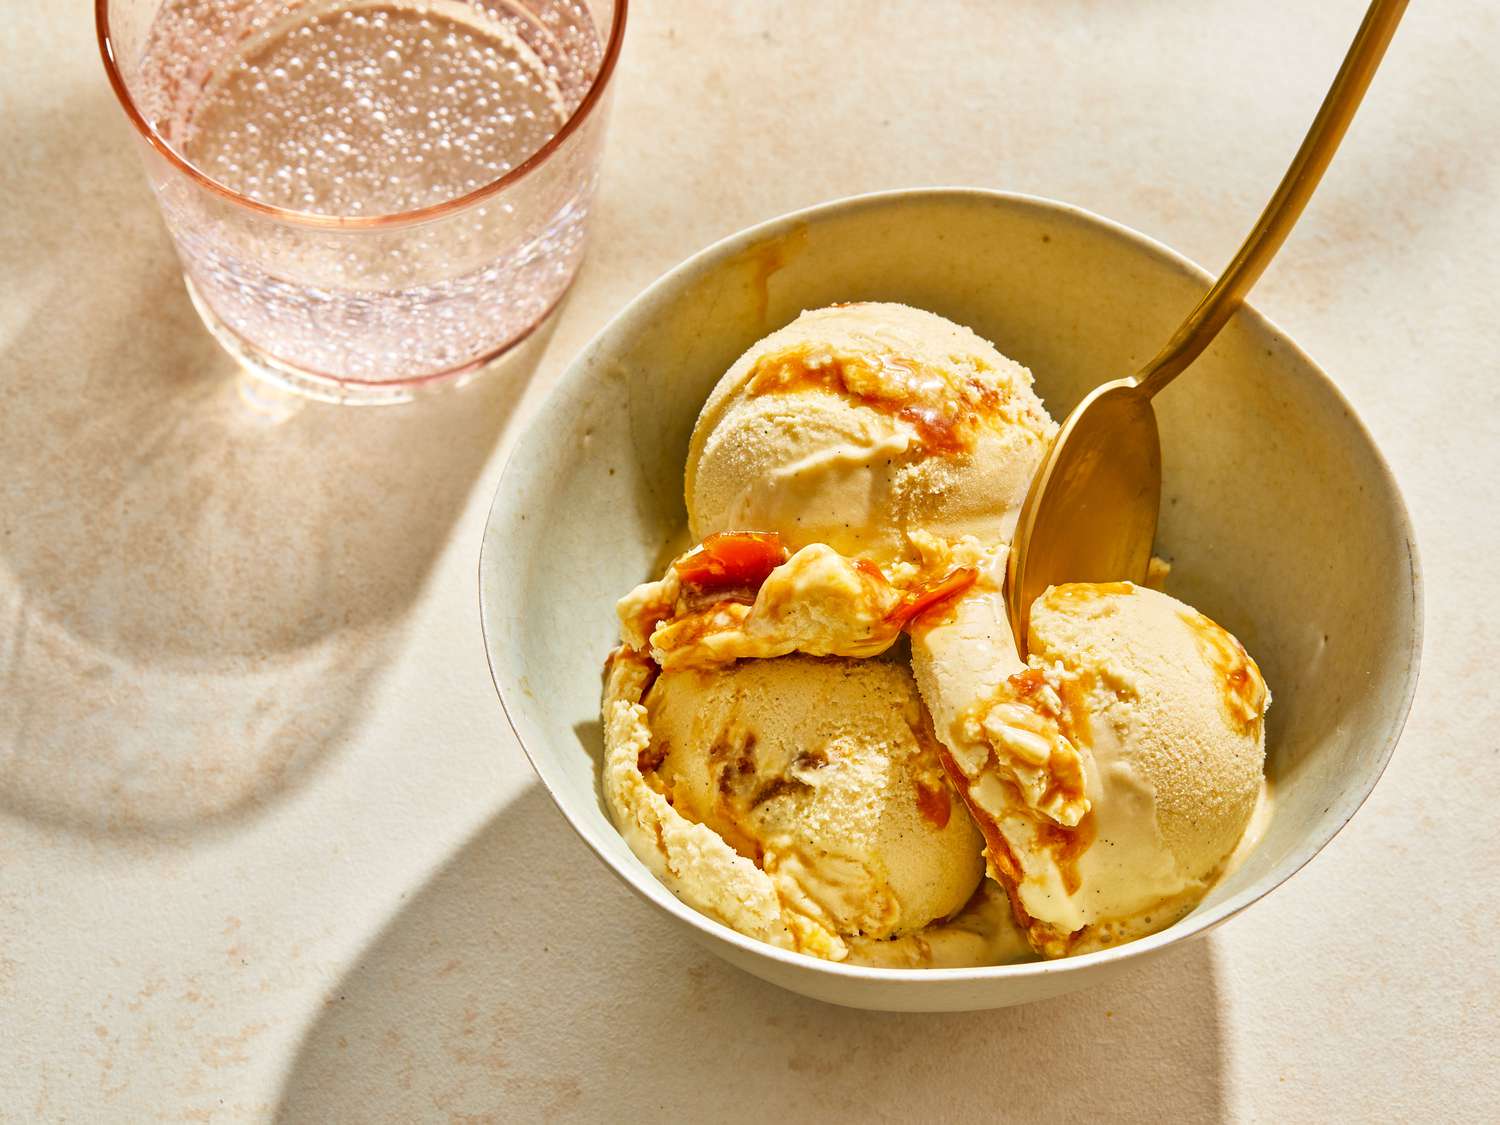
Vanilla Bean Ice Cream with a Bourbon Caramel Sauce
Yesterday was National Ice Cream day. As some of our more long-time readers may know, I love making ice cream. I’d love to one day have my own ice cream shop where all I do all day is make ice cream and some other person deals with the business end of all of it. Making ice cream is so fun — things like “loans” and “taxes” just sound awful. So my business hasn’t really gotten off the ground yet.
In 2012 I went to Penn State’s Ice Cream Short Course, which is a week long program dedicated to ice cream manufacturing. It was really exciting and incredibly educational. I took a lot of what I learned there, combined it with some other homemade things I had already known, and crafted my own ice cream recipes. Most of my recipes have some sort of booze in them, like Cookies and Irish Cream or Mint Schnapps Chocolate Chip. Since those secrets will be the bread and butter of my impending ice cream empire, today I’ll just show you how to make a vanilla bean ice cream. To keep it exciting, I’ll add in a bourbon caramel sauce.
I want to start off by saying that the combination of ingredients I’ve listed here is my own. This came from a lot of trial and error. However, most of the techniques expressed I learned from Jeni’s Splendid Ice Creams at Home. Jeni Britton Bauer started her own ice cream shop in Columbus and in a pretty short amount of time has taken the ice cream world by storm. This book is amazing and I recommend it for anybody interested in making their own ice cream. I prefer more traditional flavors than Jeni highlights in her book, but the methods and explanations in this book are irreplaceable.
For my ice cream, the ingredients I use are whole milk, cream, sugar, corn syrup, cornstarch, and (this one is a little odd for the novice ice cream maker) powdered milk.
You might notice that there are no eggs, which is pretty common in home made ice cream. The powdered milk is what is replacing the eggs in my mix. What both of these ingredients provide is protein. Protein helps the fat of the milk and cream combine with the liquid parts of the milk and cream (which is essentially just water). The protein in eggs does a pretty good job of this. But actual milk proteins, which is what powdered milk is, work a lot better. Plus, you don’t have to worry about accidentally cooking your eggs in the process — which I promise, you will do at least once.
At “ice cream college” as most people call it, we had a whole class just on vanilla. It was pretty amazing. I learned all about different types of vanilla, each with its own unique flavor. We took little shots of diluted vanilla extract from different beans, and really examined the flavor profile of each one. For this recipe, I went with a Madagascar vanilla bean. I split one down the middle, scraped the seeds and added them and the bean itself into the mix right at the beginning.
I find that, unless I’m ordering online, I don’t really have much of a choice as to what type of vanilla bean I’m getting at my local spice shop. They only had Madagascar, where as I would prefer a Bourbon vanilla bean, to go with my bourbon caramel sauce. If you can’t find an actual vanilla bean, you can use two teaspoons of vanilla extract per quart of ice cream you’re making.
One of Jeni’s most important tips, and one I still follow, is, after your ice cream mix is heated, get it cooled as fast as possible. The best way I’ve found to do this is the same method Jeni describes in her book. Pour your mixture into a ziplock bag and submerge it in an ice bath.
This serves two functions. First, it stops the mix from continuing to cook. But more importantly (for me at least) it cools it down faster so you can pour it in your ice cream machine, which eventually means you can eat ice cream sooner!
There are a variety of ice cream makers out there, so do your research. I started off using the KitchenAid Ice Cream Maker Attachment. This thing is great, but when my ice cream production started increasing, I needed something a little more substantial. I eventually settled on a Lello Musso Pola.
Like the KitchenAid, the Lello still only makes two quarts at a time. What sets the Lello apart is that the freezing unit is all internal, so you can make batch after batch. When Kerry and I made multiple gallons for our wedding, the Lello really saved the day.
Once in the machine, ice cream usually takes about 20 to 25 minutes to freeze, but it depends on your brand. You’ll know it’s ready when the ice cream starts to pull away from the sides as it’s spinning. At this point, it’s time to remove your ice cream. This is a race against the clock. You want to get your batch into the freezer as quickly as possible.
It comes out of your machine at the consistency of soft serve. Honestly, you could eat it right now, and it’d be delicious. If you can wait though, throw it in the freezer for a few hours to get it firmer. At least 4 hours. And then it’s time to enjoy!
Here’s the recipe for Pints and Pints’ official Vanilla Bean Ice Cream
Ingredients
- 2 cups of milk
- 1 and 1/2 cups of cream
- 1/2 cup of powdered milk
- 1 and 1/2 tablespoon of cornstarch
- 1/2 cup of sugar
- 1 tablespoon of corn syrup
- 1 vanilla bean
Instructions
- Set aside about a quarter cup of the milk.
- Combine the rest of the milk, cream, powdered milk, sugar, and corn syrup in a medium pot.
- Split the vanilla bean down the middle. Scrape out the seeds with your knife, and put the seeds and bean itself in the pot.
- Heat the mixture over a medium heat, until it begins to boil. Once boiling, boil for 4 minutes. With about a minute left, whisk together the milk you set aside and the cornstarch until all the cornstarch is incorporated.
- Remove the boiling mixture from the heat, and whisk in the milk/cornstarch.
- Return the mixture to heat, and bring back to a boil, scraping the bottom of the pan with a heatproof spatula.
- Cook until the mixture thickens up, which is about one more minute. You can do the old “does this coat the back of a spoon” test.
- Pour the mixture into a ziplock bag, and then submerge the bag in an ice bath for about 30 minutes.
- Once the mixture is cooled down (the colder the better), pour it into your ice cream maker.
- Freeze per your machine’s instructions, usually 20 – 25 minutes.
- Transfer the ice cream into a sealed container and place in your freezer for at least four hours.
http://www.burritosandbubbly.com/2014/07/vanilla-bean-ice-cream-with-a-bourbon-caramel-sauce/
But wait, there’s more! While this recipe is great, we decided to go a little wild and add a bourbon caramel sauce.
I discovered that caramel is actually really easy to make. I’ve found a lot of recipes online that involve starting with sugar and water, but that never works for me. I just take a cup of sugar and throw it in a frying pan over medium heat. Once it starts to melt all the way around the outside, you just slowly pull the liquid edges in towards the center. You don’t want to fiddle with it too much, but use the hot sugar to melt the remaining sugar, turning the whole thing into a liquid.
After it turns a nice copper color (“like an old penny,” I’ve heard it described), you’ve got caramel. At this point, we added a quarter cup of bourbon and let that boil some of the alcohol out. After about 30 seconds, we slowly whisked in about 2/3 of a cup of cream. If you want it thicker, do less cream. Pour that in another container and throw it in the fridge, and you’ve got yourself a boozy, creamy, caramel dream come true.
With a combination like this, I don’t know how it’s possible to not enjoy National Ice Cream Day.
–Andy
ps – here’s what it looks like 5 minutes later
Sorry, the comment form is closed at this time.